To become acquainted with the Resource Management Plugin please follow these first steps.
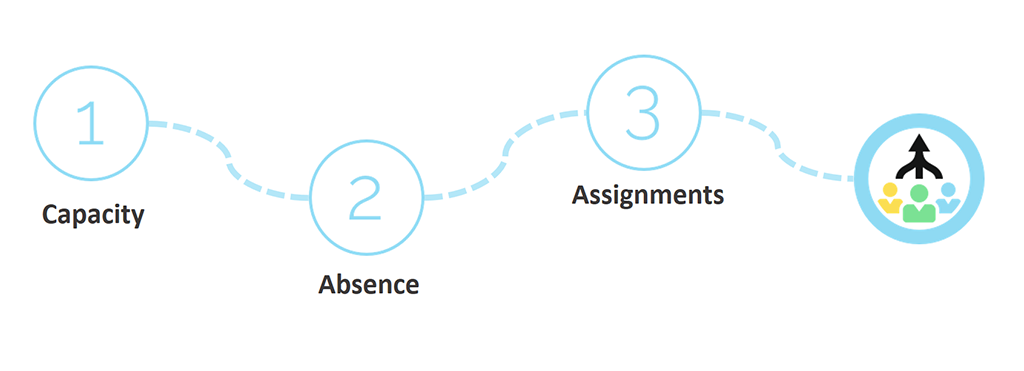
| Our first goal is to create a team and define some capacity for the team members. 1: Go to Capacity Board. 2: Create a new filter. |
| 1: Select team members for this team in the popup dialog. 2: Think of a name for this filter, e.g. 'All internal ressources' 3: Save the filter.
|
 (Click to enlarge) (Click to enlarge) | Create a capacity entry for a team member* with the Create Capacity wizard (with extend filter option). 1: Select a ressource. 2: Ensure 'extend filter' option is set (If the selected ressource is not in the filter selection it will be added by this option). 3: Save the entries. |
(Click to enlarge) | Imagine your team members planned vacation or there are some public holidays. Absence time can be entered in the Absence board. 1: Go to Absence Board. 2: Create absence entries for the same team member(s)* directly in the board.
|
 (Click to enlarge) (Click to enlarge) | Now let's do some planning for our new team. Please go to Assignment Board. 1: Create an assignment for team member(s) on a project* with the Create Assignment wizard |
(Click to enlarge) | Create an assignment for team member on a project* with the Create Assignment wizard (with extend filter option). 1: Select a project* and a ressource* 2: Select a time frame 3: Select a duration 4: Save the assignment 5: Create another assignment: popup remains opened after save and context remains selected as well. This could be used to create similar assignments for multiple resources.
|
(Click to enlarge) | Create a filter for your first project or team. 1: Select the ressource(s) you created an assignment for in the previously step. 2: Select by clicking the arrows. 3: Selected resource should now be visible in the right panel. 4: Think of a name for the new filter 5: Save the filter
|
(Click to enlarge) | Finally we can export our plan to an MS Excel sheet. 1: Export assignment values to MS Excel.
|


_Nr_Quick.png?version=1&modificationDate=1465047473914&cacheVersion=1&api=v2&width=400&height=250)

* Visibility of projects and resources depends on the following aspects:
- Restrictions in the Resource Management plugin configuration (- initially after setup there are no restrictions).
- For creation of assignments only JIRA users assigned to projects will be visible.
- For filtering of assignments only projects / resources for assignments already created will be shown.